Creating a website can be a great way to showcase your portfolio, whether you are a data scientist, software engineer, or artist. However, if you don’t have much experience making a website, it can be difficult to find a low-cost option that is relatively simple to implement. GitHub pages’ free hosting combined with the static site generator Jekyll can help make the process of making a website much simpler. This post will outline the basics of creating a website by walking you through how I made a page about my Basenji breed dogs, Jericho and Lily.
To begin making your website you must first have a GitHub account. You can easily register to create an account here. Once you have an account you can fork the Beautiful Jekyll repository and begin editing your site. First, start by renaming the repository to yourwebsitename.github.io.

Now that you’ve renamed your repository, take a look at the config.yml folder and read the comments to understand the website settings. This folder holds most of the important information about your website such as a navigation bar to show posts, your contact information, and what subsections exist. I started by altering my file to remove all of the contact information fields.
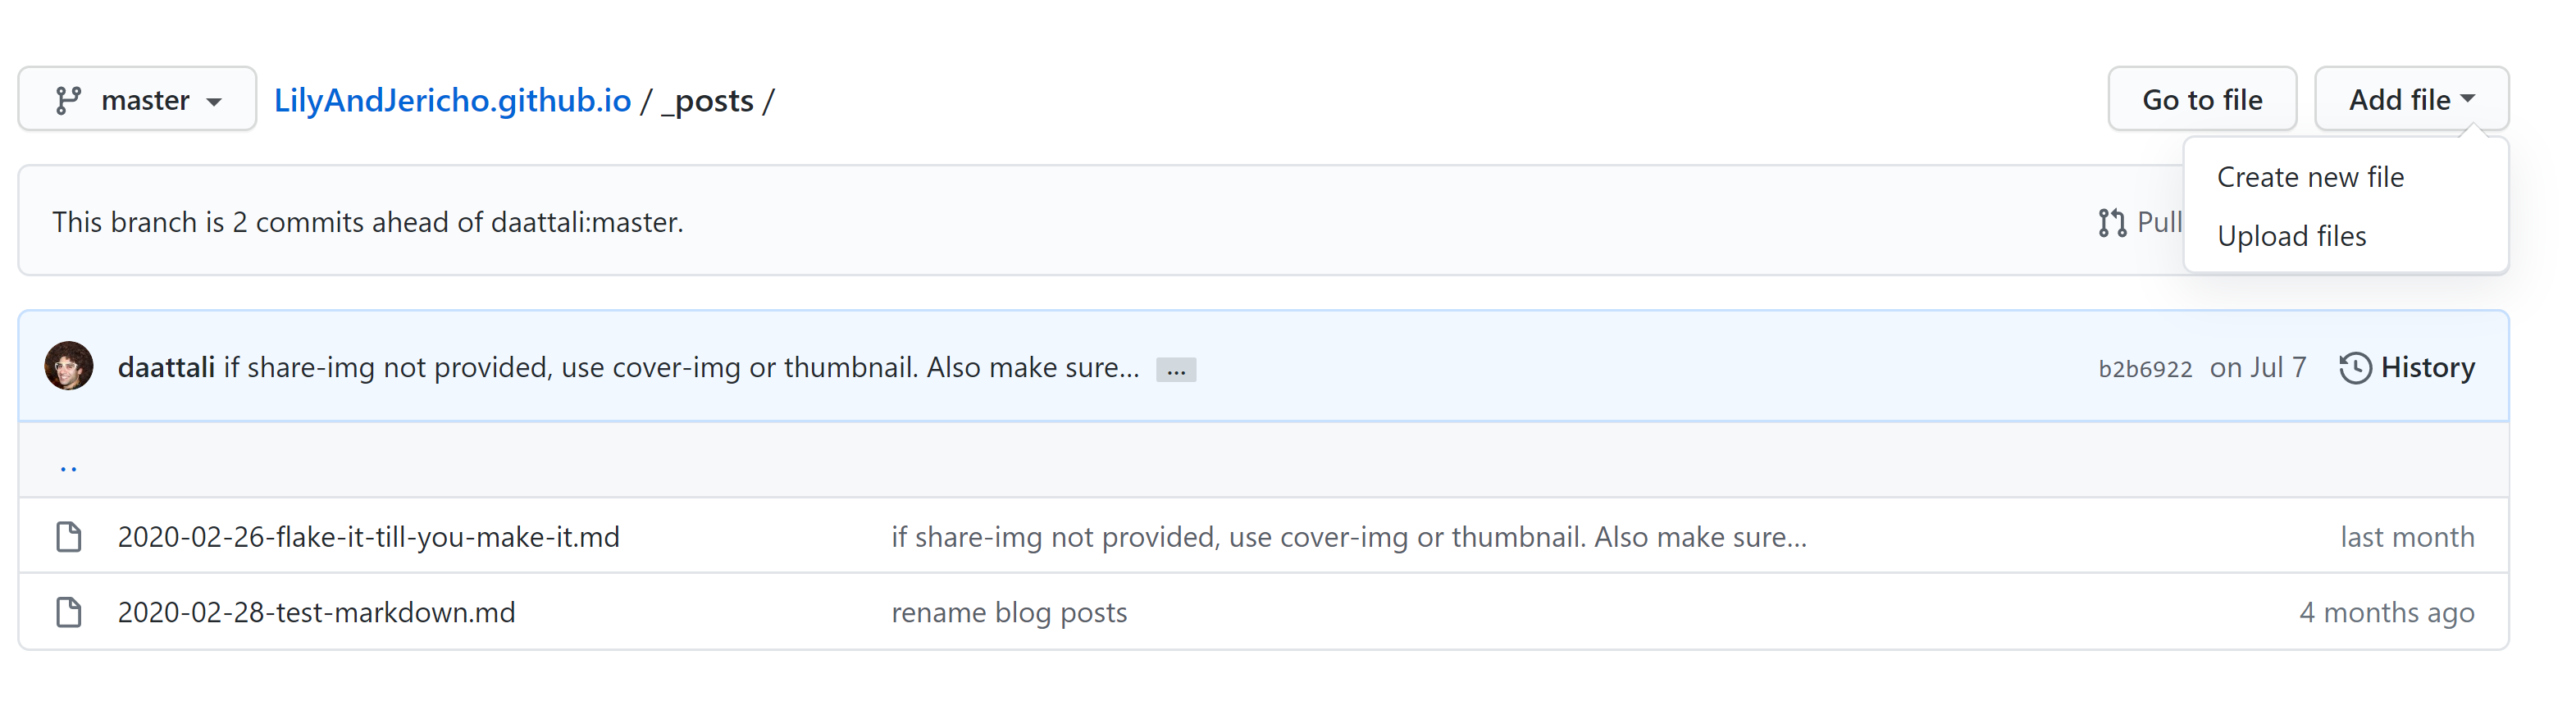
Next, I deleted the two default posts found in the posts folder and created two new posts. You can create a new post using the new file button.
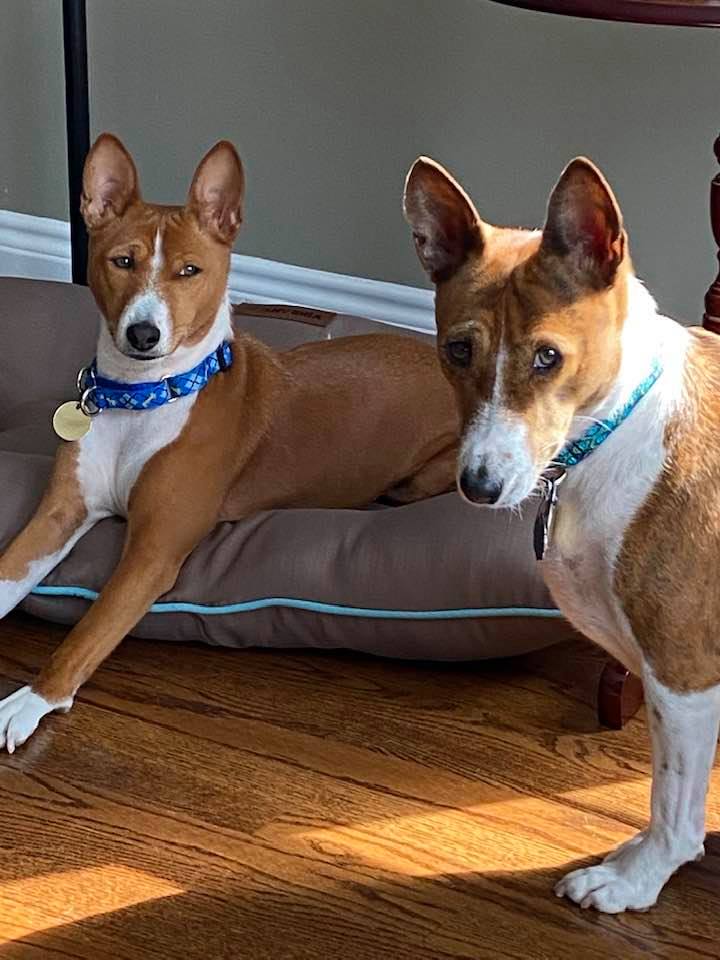
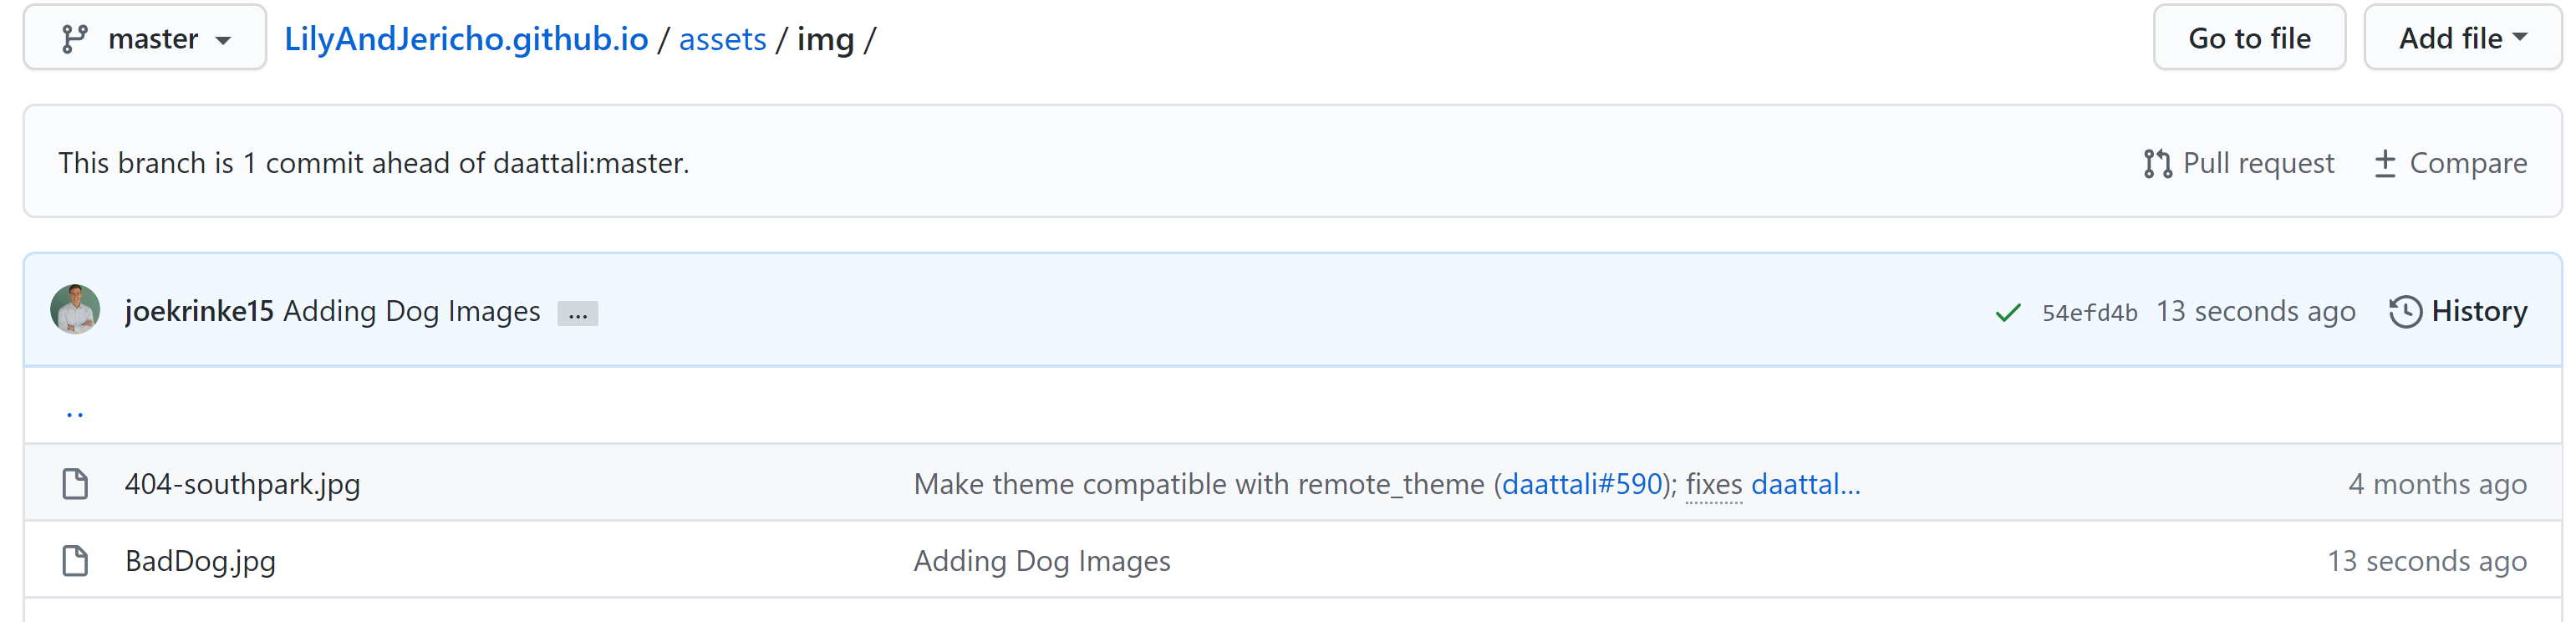
I then uploaded all the images that I wanted to use on my website to the image folder. Once you upload an image you can access it and use it in your posts, headers, and other places on your website.
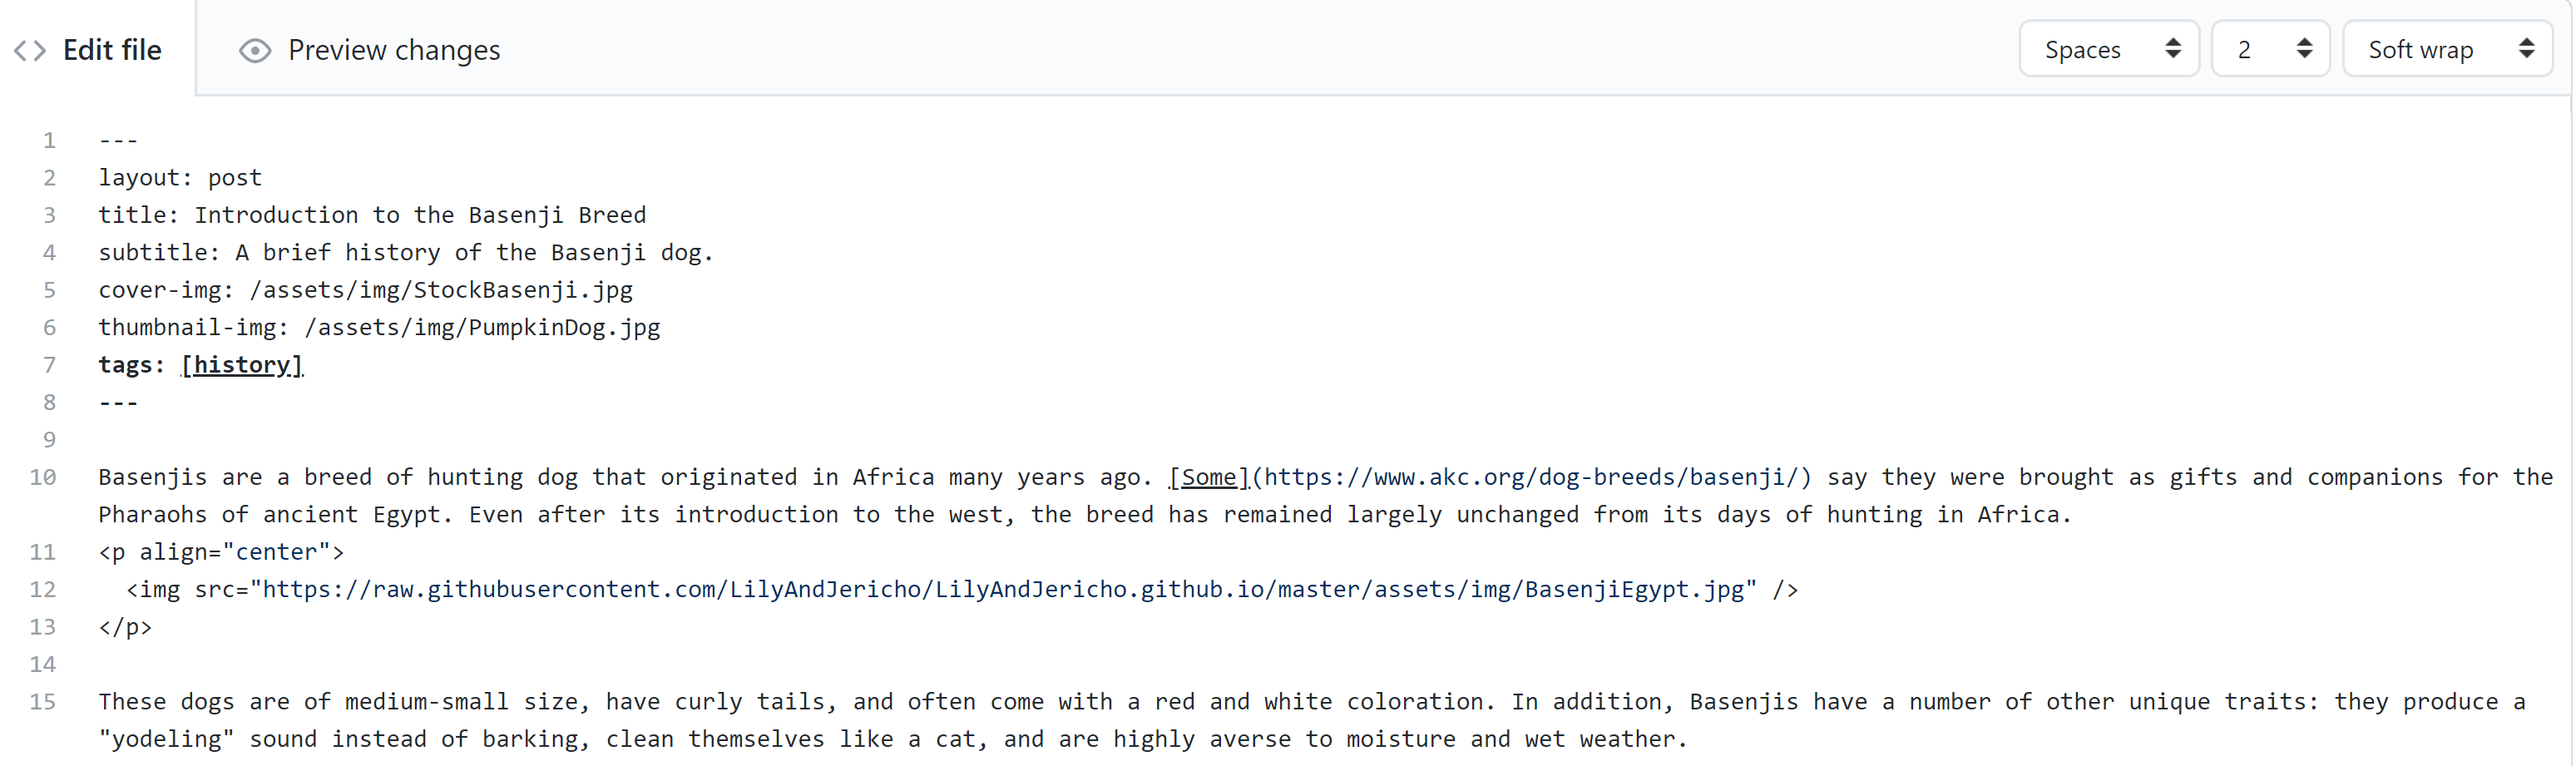
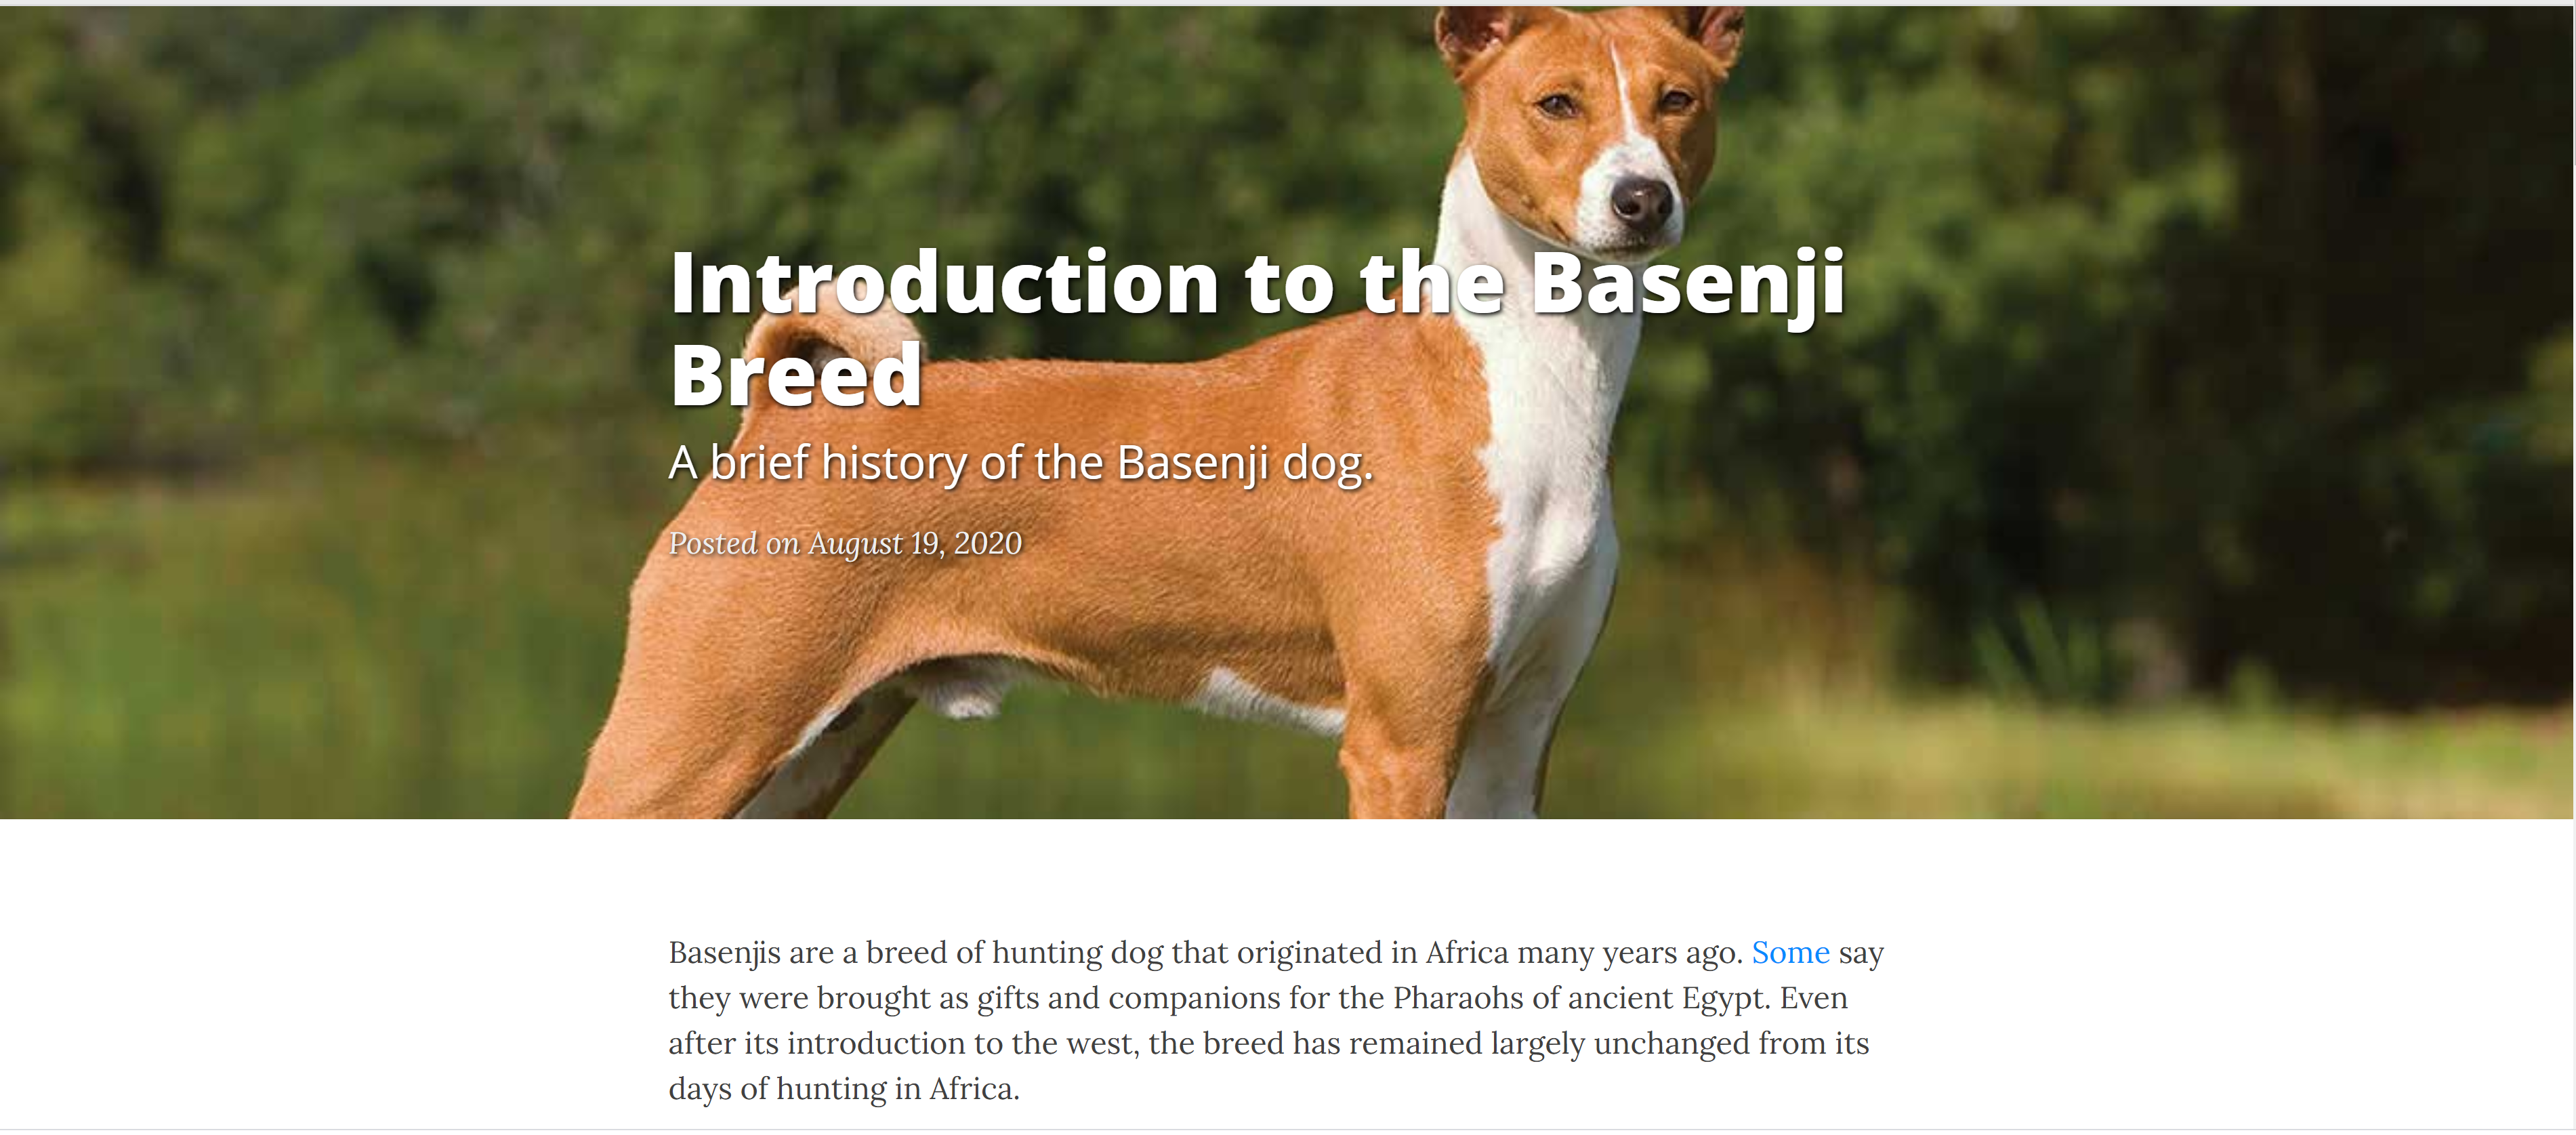
Next I began working on my posts. Posts are written using the markdown language and appear sequentially on your page once they are written. Make sure your post names start with the date and end with “.md” to indicate they are markdown files. I wrote two posts, one as a description of the website’s purpose and one about the history of the Basenji dog breed. Here’s an example of the markdown code for a post next to the end result.
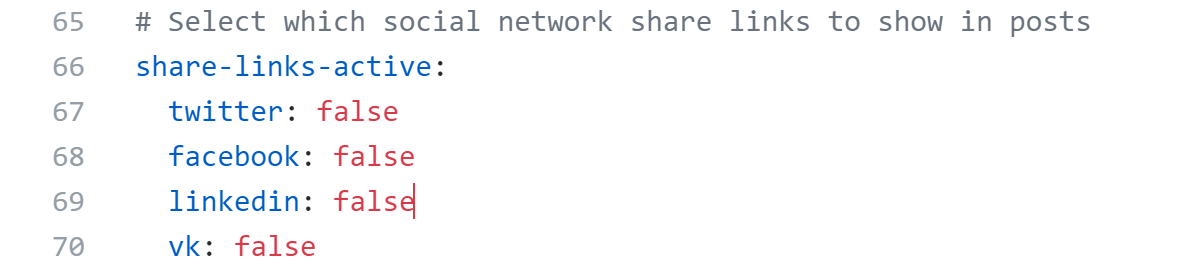
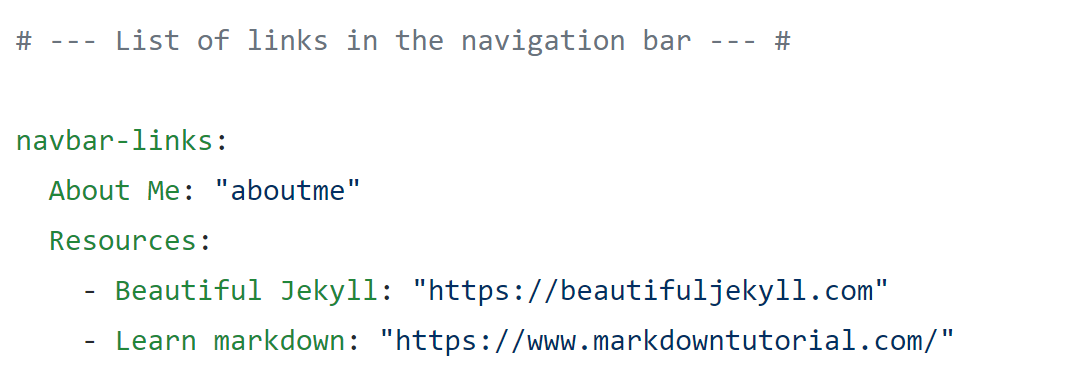
Once my posts were complete I added two additional links in the navigation bar- an about me page and a resource tab. You can alter the links shown in the navigation bar by altering the config.yml file. You can see a picture of the relevant section of code below.
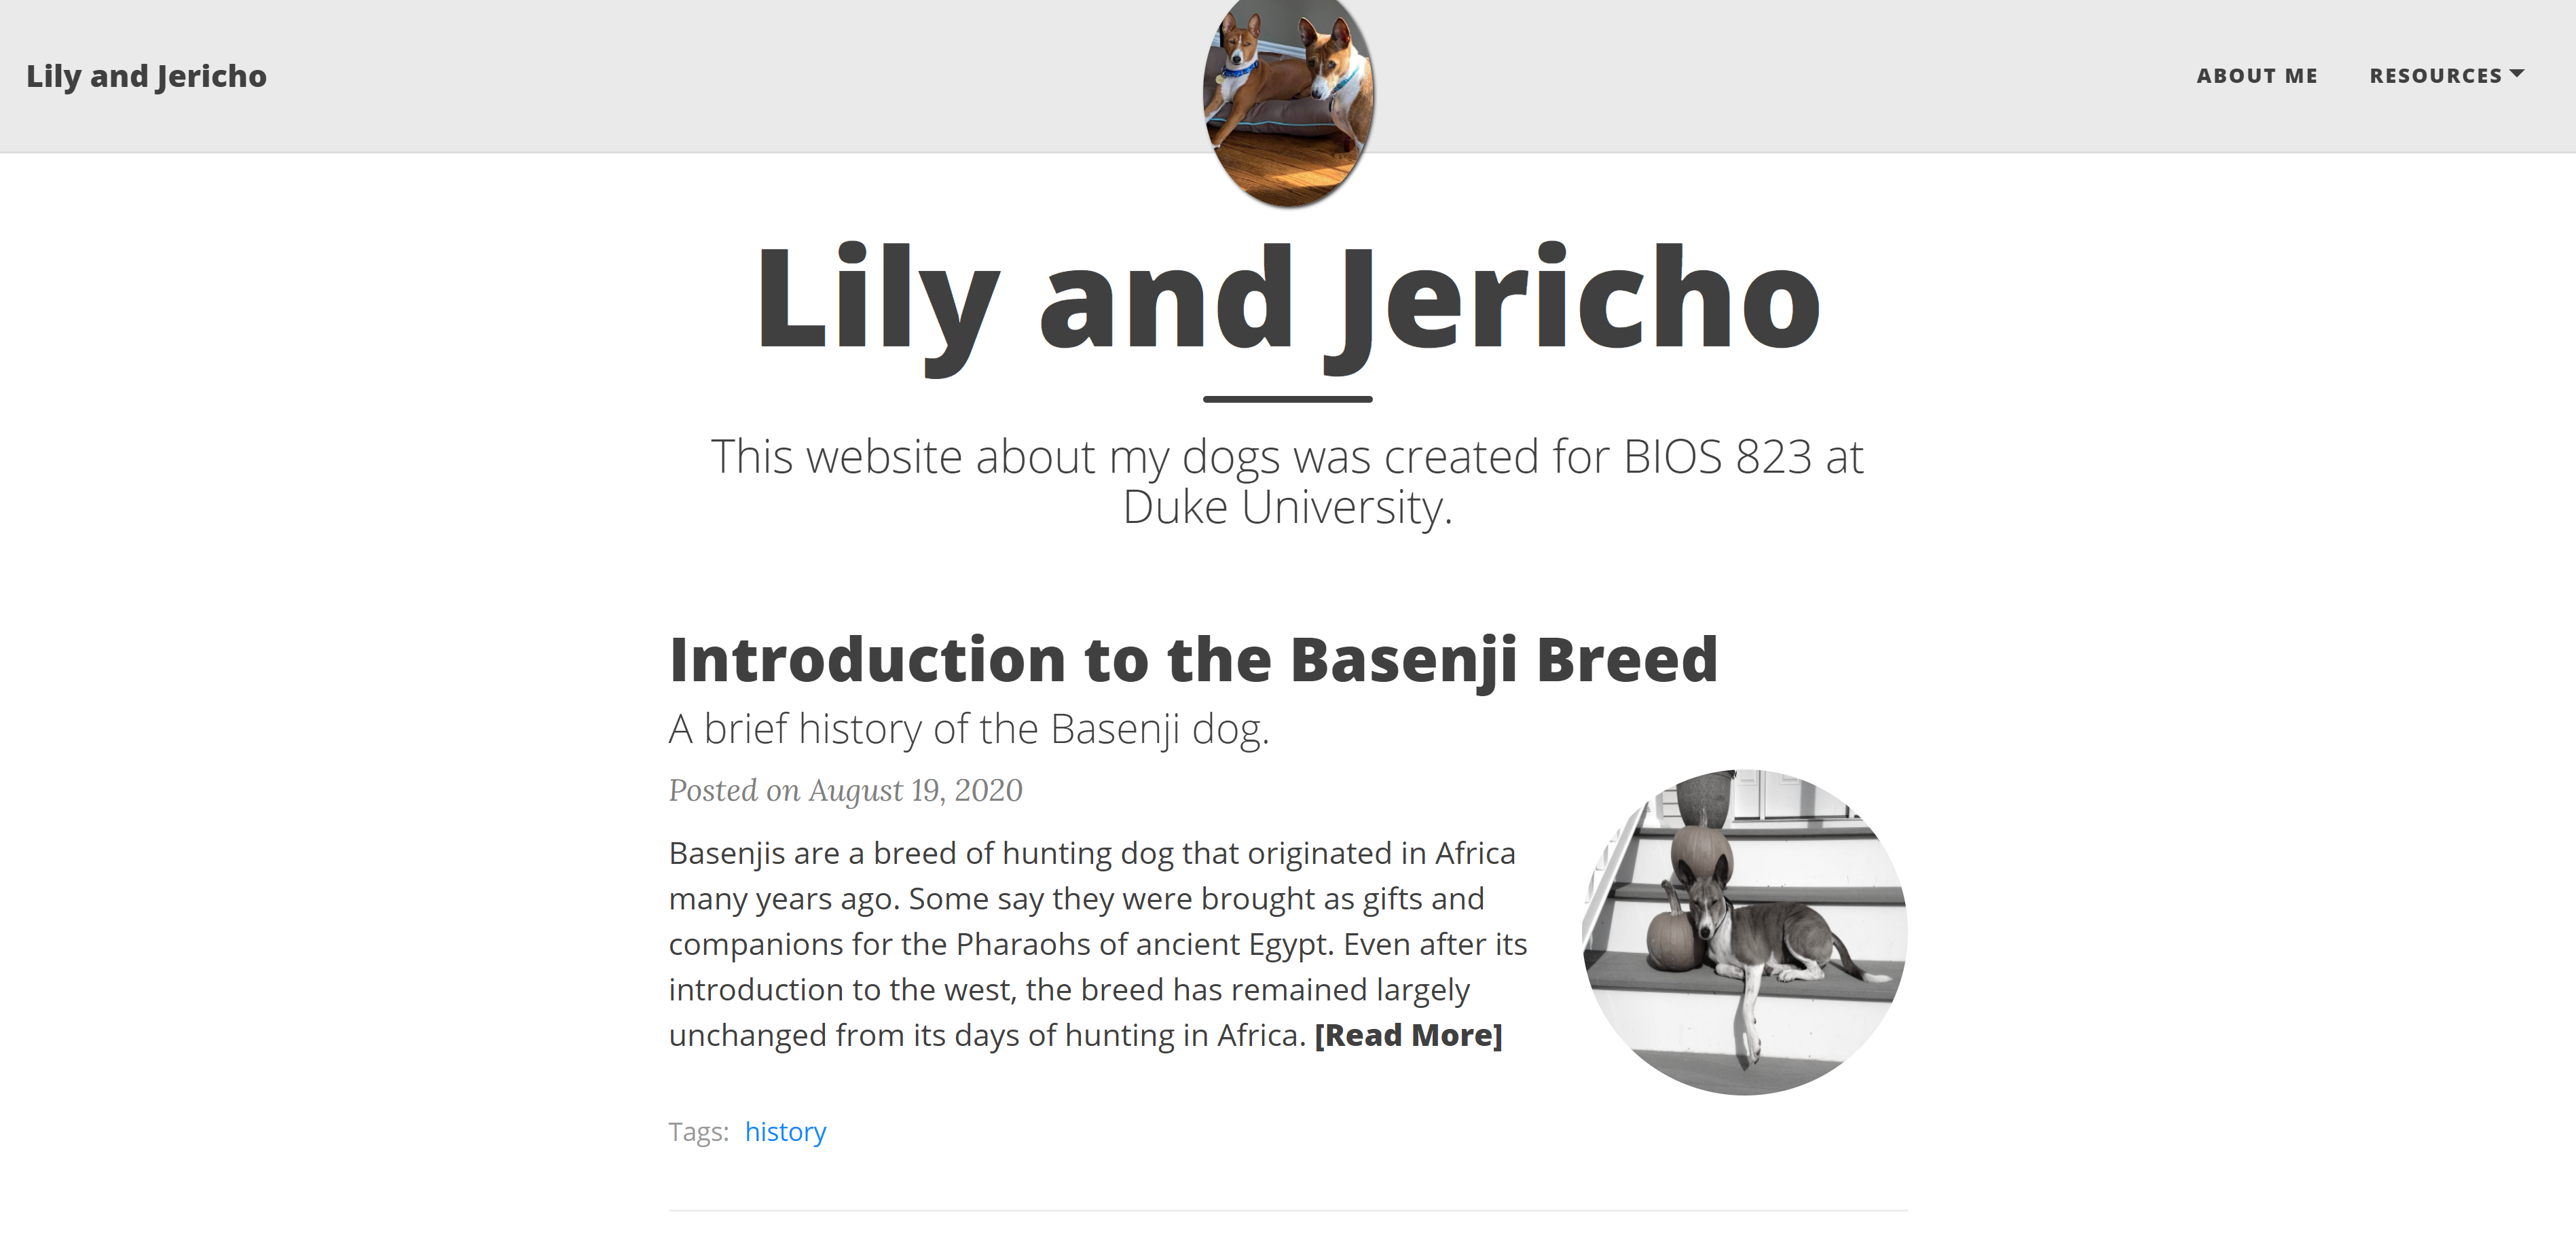
It is important to note there is no need to wait to publish your website until after it is fully complete. The website is automatically updated a short period after you commit your changes to GitHub- keep refreshing the page if you don’t see any changes. Once you’ve made a basic site, you can review the Jekyll docs to learn about more advanced options. If you’re looking for inspiration, a screenshot of the front page of my sample site is below, a link to the GitHub is here and you can feel free to investigate more here if you’re interested in my dogs!